Think about the pride you feel when you’ve completed a puzzle. You worked for many long hours hunched over a table. Maybe you recruited some friends to help, or maybe you did the whole thing yourself.
When the puzzle is done, you stand back to admire your work. But then, all of a sudden, you get this nagging feeling. What do you do with the puzzle now?
You could take it all apart and put it back in the box, but that would be a waste. Alternatively, you could start a new project: you could learn how to frame a puzzle.
Key things you'll learn in this article:
How to Glue and Frame a Puzzle
Framing a puzzle involves learning lots of new skills. You’ll have to figure out which puzzle framing supplies to use. You’ll also have to get familiar with using glue or other adhesives and working with frame backing to make the puzzle sit in the frame just right.
Framing a puzzle could be the perfect challenge to take on once you’ve completed your puzzle. The article below will walk you through a step-by-step process for how to frame a puzzle. Continue reading to learn more about preserving your puzzle for years to come.
First, here's a quick, at-a-glance set of instructions on how to glue and frame a puzzle (we go into more depth on each of these steps below):
- Select a frame for your puzzle.
- Make sure your puzzle is complete, with no pieces missing or in the wrong spot, etc.
- Carefully place your puzzle atop a sheet of protective material (such as wax paper, plastic wrap, or newspaper).
- Spread puzzle glue over the entire front/top surface of your puzzle. There are puzzle gluing tools designed specifically for this purpose (but a brush can work as well!)
- Let the glue dry completely, and then carefully flip your puzzle over and apply more glue to the backside of the puzzle.
- Once the glue has dried on both sides, you can attach your puzzle to a backing board. Then, you're ready for framing!
- Take off the glass and backing from the frame and place the puzzle (attached to its backing board) into the frame. Make sure it’s leveled and centered!
- Put the frame back together, ensuring that everything is secure.
- Add hardware to your frame so that you can hang it on the wall, and/or add customizations to your frame so you can make it uniquely yours!
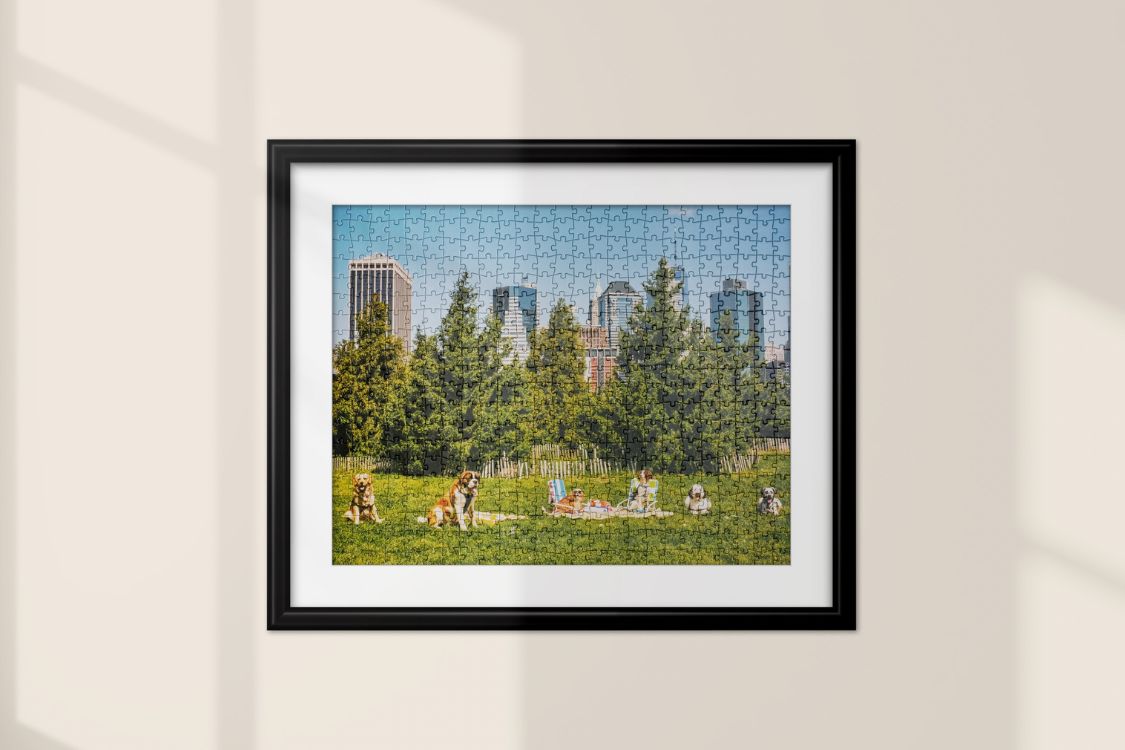
Choosing the Perfect Frame for Your Puzzle
The first step on your journey toward displaying puzzles at home is to identify the right frame. You should choose a frame based on the puzzle that you’ve just completed.
Think about which colors will make sense with the specific puzzle you’re trying to hang up on the wall. Consider whether it makes more sense to use a wood frame, a plastic frame, or a metal frame.
Size is another important factor in puzzle framing. When you choose a frame for a picture, you usually choose a frame that is close to the exact size of the picture.
However, framing a puzzle is different. Be sure to choose a frame that's a little larger than your puzzle - it should leave a little bit of extra room on the top, bottom, and sides of the puzzle. The last thing you want is to end up having to jam the puzzle into the frame (which could possibly damage your puzzle and knock off a few pieces).
Also remember to consider the puzzle size and thickness as well when selecting your frame.
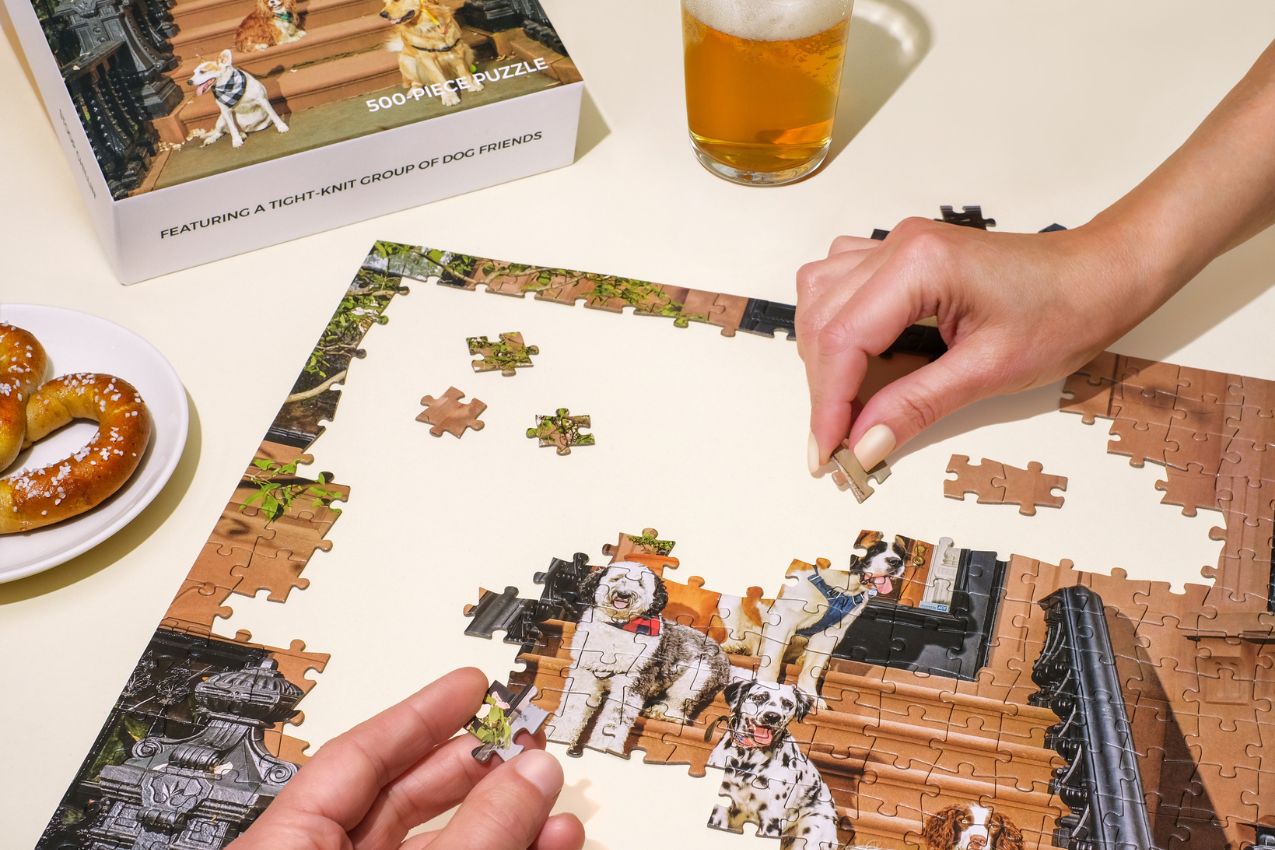
Attaching the Puzzle to a Board
Now comes the hard part. Once you’ve selected your frame, you’ll have to glue your puzzle and then attach it to a flat board so it can sit upright in the frame.
To glue your puzzle, we suggest using puzzle glue -- it will dry clear, so there's no need to worry about it damaging your puzzle or obscuring any details, etc. Apply puzzle glue to the front of the puzzle, let it dry completely, and then apply it to the back as well. We recommend applying the glue with a puzzle gluing tool, but a brush can also suffice!
Once your puzzle is glued, you can attach it to a backing to make it more sturdy. Many people choose to use a simple piece of cardboard for the backing. If you do use cardboard, be sure to choose a well-constructed piece that won’t bend or collapse over time.
You might also want to consider using plywood for the backing. It’s much sturdier than cardboard, but it could also be thicker. You’ll have to find the right material that is sturdy enough to hold your puzzle without being too thick to fit in the frame.
Once you’ve found the right board, use adhesive to attach the puzzle to the board. You can spread liquid adhesive on the board before placing the puzzle on top of it.
Some people go the extra mile by applying a resin coat to the top of the puzzle. This will help seal the puzzle in place while also providing your puzzle with a nice shiny look. When you’ve secured the puzzle to the board, you’re ready to move on to the next step.
Perfecting the Look of the Board behind the Puzzle
Before you place the puzzle and board inside the frame, be sure to trim any parts off the board that sticks out from behind the puzzle.
Trimming these pieces will make your puzzle look better in the frame. The trimming will also ensure that the puzzle and attached board fit in the frame.
Attaching the Puzzle and Board to the Frame
Once you’ve secured the puzzle to the board and trimmed the board, you’re ready to put the board in the frame. If you chose to use cardboard for the board, you can use staples to secure the board to the frame backing.
If you use wood, you may have to use framing points. A framing point is a small metal tab that is commonly found on the back of frames. No matter which route you go, be sure to lightly pull on the backing to ensure the puzzle is attached securely.
At this point, you can also add a mat to your framed puzzle if you'd like to add an additional layer of visual interest.
Customizing the Look of Your Frame
Now that you’ve finished framing your puzzle, it’s time to customize your frame. You can glue small knick-knacks to the front of the frame, or you can find some objects that are related to the theme of the puzzle. For example, if you completed a dog puzzle, you could attach some small toy dogs to the front of the frame.
You can find knick-knacks that go with all types of puzzles. If you don't want to do more gluing, perhaps you want to paint the frame yourself or apply glitter to the frame to make it pop.
Reviewing the Top Tips for How to Frame a Puzzle
As you’ve learned from reading the article above, learning how to frame a puzzle can be a fun project to take on once you’ve completed your puzzle.
The next step is to find a puzzle that you love so much you just can’t help but want to frame it. If you’re interested in shopping for puzzles like that, check out the selection of puzzles available at Mesa.
